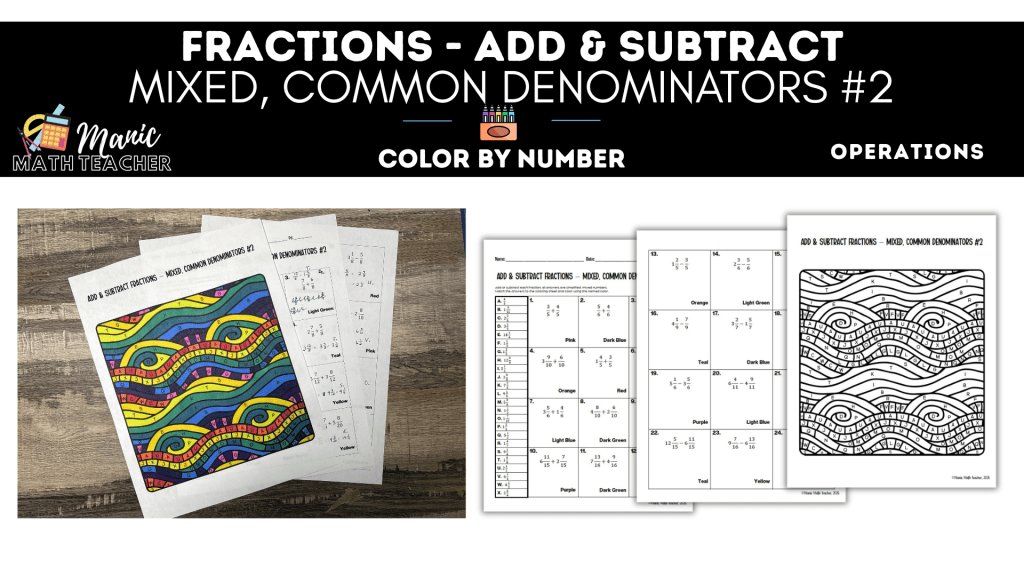
• Moving from proper fractions to mixed numbers is a big conceptual leap. Students now have to juggle whole numbers and fractional parts at the same time, and it’s easy for one pieOnce students can add and subtract mixed numbers with common denominators, they’re ready for the next layer: dealing with results that come out as improper fractions and converting them back to mixed numbers. This is where their understanding of fraction magnitude really starts to solidify.

    Research shows that students often struggle to interpret improper fractions; they can perform operations but don’t always grasp that an improper fraction is simply “more than one whole.” Giving them regular practice converting improper results to mixed numbers helps them connect symbolic notation to quantities they can picture.

    In this level of practice:

    • Problems feature mixed numbers with common denominators.
    • Operations sometimes produce improper fractional parts.
    • Students must convert those improper fractions to mixed numbers and combine them correctly with the whole number.

    My color by number activity for this topic guides students through that process repeatedly. They add or subtract, recognize when the result is improper, convert to a mixed number, and check in the answer bank before coloring. This builds comfort with both forms and reinforces that mixed numbers and improper fractions are two ways of describing the same quantity.


    This product can be found on my Teachers Pay Teachers Store here:
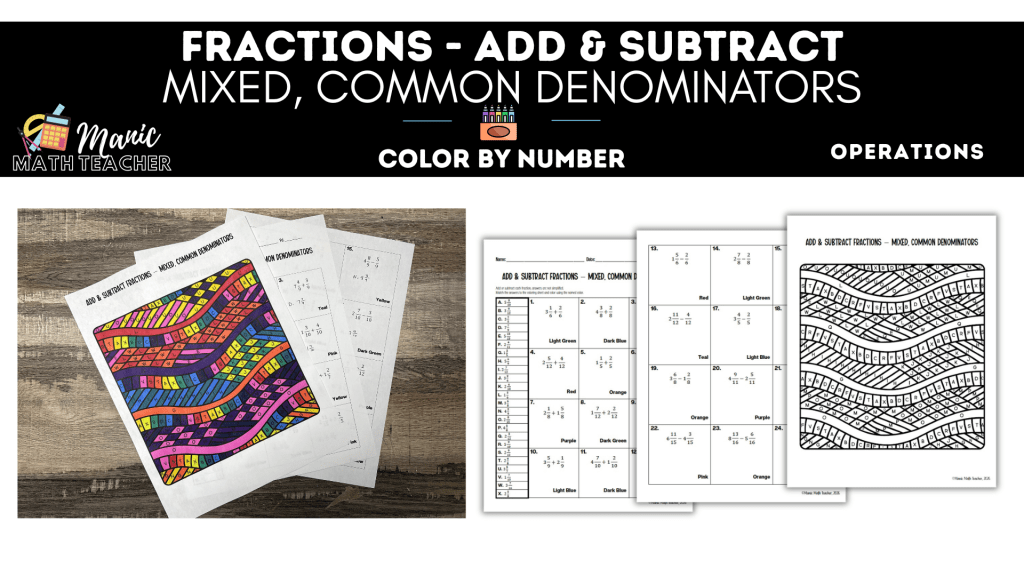

  • Moving from proper fractions to mixed numbers is a big conceptual leap. Students now have to juggle whole numbers and fractional parts at the same time, and it’s easy for one piece to get lost. That’s why practicing mixed numbers with common denominators is such an important intermediate step.

    Pedagogically, it helps to keep denominators the same so students can focus on:

    • How whole numbers and fractional parts interact.
    • When to add or subtract whole numbers first, then adjust the fractions.
    • What a mixed number actually represents on a number line.

    In my practice sets, students add and subtract mixed numbers that already share denominators, and answers are intentionally left as unsimplified mixed numbers. This lets them concentrate on the “structure” of mixed‑number operations—combining wholes and parts—before layering on simplification later.

    The color by number format keeps them engaged: each mixed‑number answer flows into the answer bank, and correct work gradually reveals a design. It’s a gentle way to bridge from “just fractions” to mixed numbers without overwhelming them with too many new ideas at once.


    This product can be found on my Teachers Pay Teachers Store here:
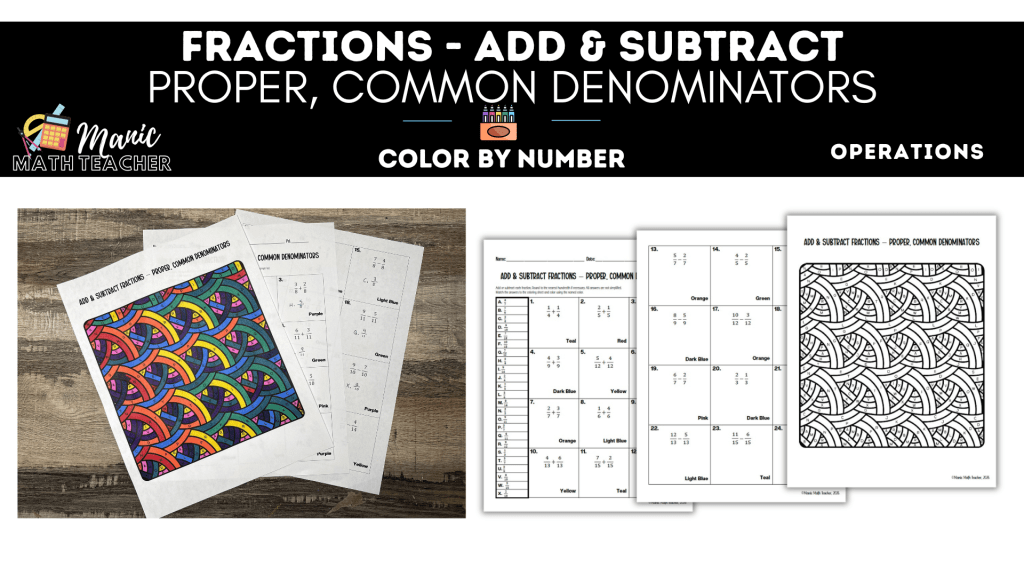

  • When students first learn fraction operations, adding and subtracting proper fractions with common denominators is usually our starting point—and for good reason. At this stage, they’re building the idea that fractions are “parts of a whole,” and that when the pieces are the same size (same denominator), they can simply combine or compare the numerators.

    Research on fraction learning emphasizes the importance of beginning with consistent, low‑complexity tasks so students can focus on the meaning of the operation rather than getting lost in procedures. When every problem has a common denominator, students are less likely to confuse the numerators and denominators and more able to see that they’re really counting like‑sized pieces.

    A dedicated practice set with proper fractions and common denominators, where all answers are simplified proper fractions, gives them:

    • Repetition with the core idea of combining like parts.
    • A safe space to see that adding makes the quantity larger and subtracting makes it smaller.
    • Consistent feedback on simplifying, without extra steps like finding common denominators.

    My color by number activity for this skill focuses solely on these proper‑fraction problems. Students add and subtract, simplify, then check their answers against an answer bank before using them to complete a design. It’s simple, structured, and a perfect way to open your fractions unit or review the basics before moving on.without turning class into another worksheet slog.


    This product can be found on my Teachers Pay Teachers Store here:
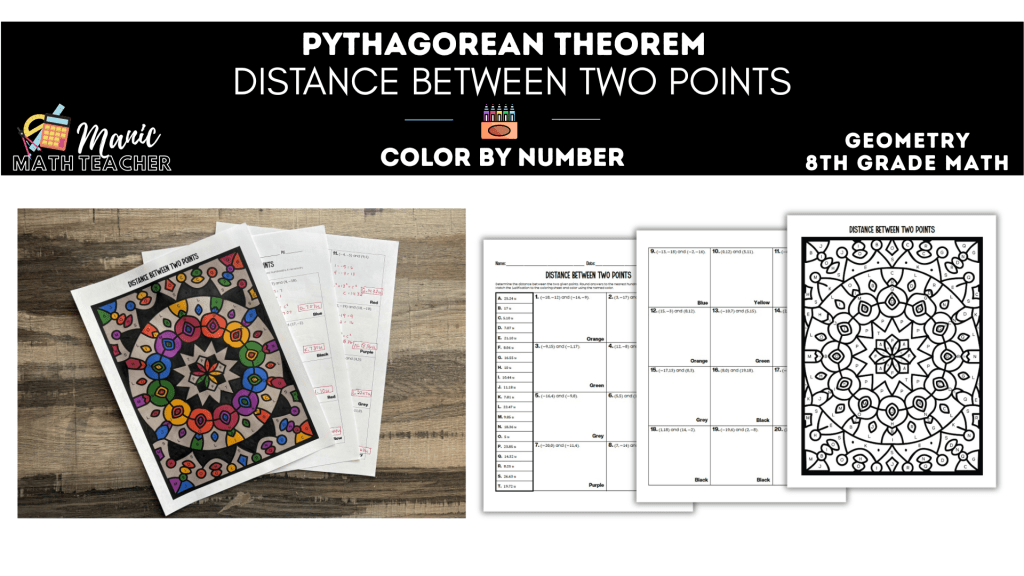

  • The distance formula is one of those topics that can quickly become a plug‑and‑chug exercise. But if we want students to really understand it, we need to balance repetition with meaning. The underlying idea—measuring how far apart two points are—is intuitive. The challenge is keeping track of coordinates and avoiding careless mistakes.

    Research on fluency practice suggests that students benefit from repeated exposure to a skill in varied but predictable formats. Working through many pairs of points, with clear structure and built‑in feedback, helps them develop accuracy and speed.

    I like to create sets of ordered pairs where students:

    • Identify which coordinates belong together.
    • Compute horizontal and vertical differences.
    • Use the distance formula or Pythagorean reasoning to find the final distance.

    To keep this engaging, I wrap it in a color by number format. Students match their distances to an answer bank; if their value isn’t there, it’s a cue to check for sign errors or mis‑paired coordinates. The gradual appearance of a design keeps them invested in finishing all the problems.

    If your students need extra practice with distance between two points, a structured activity like my distance color by number worksheet on TpT can give them that practice without turning class into another worksheet slog.


    This product can be found on my Teachers Pay Teachers Store here:
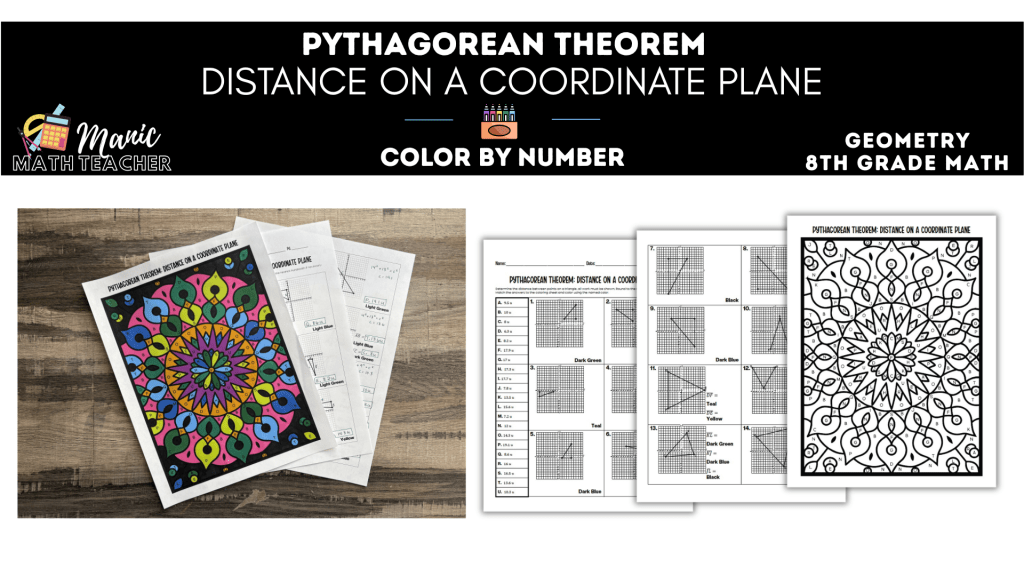

  • One of the most powerful moments in 8th grade math is when students realize that the distance formula is really just the Pythagorean Theorem in disguise. Drawing triangles on the coordinate plane is an excellent way to make that connection visible.

    Studies on conceptual links in algebra and geometry emphasize that students retain formulas better when they understand the geometric meaning behind them. When we show them that the horizontal and vertical differences between two points form the legs of a right triangle, and the distance between the points is the hypotenuse, the formula stops feeling random.

    In my classroom, I give students coordinate‑plane diagrams of right, isosceles, and scalene triangles and ask them to:

    • Identify the vertices.
    • Use horizontal and vertical distances to set up a right triangle.
    • Find the length of a side using either the distance formula or Pythagorean reasoning.

    They quickly see that no matter what kind of triangle it is overall, those right‑triangle relationships show up again and again.

    Turning this into a color by number activity lets students move through multiple diagrams in a consistent structure. Each correct distance feeds into the design, reinforcing the idea that careful coordinate work leads to accurate results.

    If you’re working on connecting coordinate geometry to Pythagorean concepts, you might find my coordinate‑plane triangle distance color by number resource on TpT helpful.


    This product can be found on my Teachers Pay Teachers Store here:
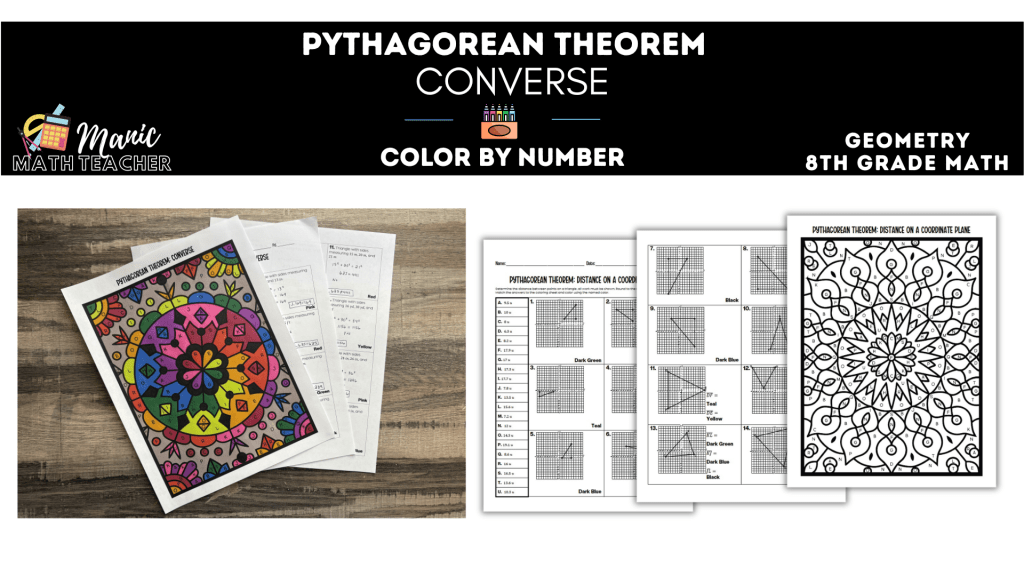

  • The converse of the Pythagorean Theorem is one of those topics that can either clarify everything or make students’ eyes glaze over. The key is to frame it as a simple question: “If I give you three side lengths, can they make a right triangle?”

    Research on reasoning and proof in middle school math highlights the importance of giving students chances to test and classify examples. When they check whether a2+b2=c2a^2 + b^2 = c^2 holds for a triple of numbers, they’re essentially doing a small proof: confirming or denying right‑triangle status based on evidence.

    To build this skill, I give students sets of three side lengths and ask them to:

    • Identify the longest side.
    • Check whether the relationship a2+b2=c2a^2 + b^2 = c^2 is true.
    • Decide whether the triangle is right or not.

    Repeating this across many examples helps them see patterns, like common Pythagorean triples, and reinforces the idea that not every triangle is right—even if the numbers look “nice.”

    Using a color by number format for this practice adds a bit of structure and accountability. Each decision (right triangle or not) leads to a specific entry in the answer bank, and incorrect reasoning stalls their progress on the design, nudging them to recheck their work.

    If your students struggle to remember what the converse is or when to use it, a focused practice set like my Pythagorean converse color by number activity on TpT can make the concept much more concrete.


    This product can be found on my Teachers Pay Teachers Store here:


  • Students often hear that the Pythagorean Theorem is “about areas of squares on the sides,” but rarely get enough experience actually working with those squares. Visual models—where we literally draw squares on each side of a right triangle—are a powerful way to connect the algebraic formula to a geometric picture.

    Research on multiple representations in math shows that students who can move between visual and symbolic forms tend to retain concepts longer and apply them more flexibly. When they see that the sum of the areas of the smaller squares equals the area of the largest square, the equation a2+b2=c2a^2 + b^2 = c^2 stops being abstract.

    I like to give students diagrams with three squares drawn on the sides of a right triangle and then mix the information they’re given:

    • Sometimes they know a side length and area.
    • Sometimes they’re given perimeters instead.
    • Sometimes two squares are fully known and one is missing data.

    Their job is to use what they know to find the missing lengths, areas, or perimeters—and to notice that the same basic relationship holds across all of them.

    A color by number activity built around these diagrams lets students repeatedly use the model without it feeling repetitive. Each correct calculation helps complete the design, which reinforces the idea that all three squares are connected.

    If you’d like students to truly see the Pythagorean Theorem instead of just memorizing the formula, a squares‑on‑the‑sides practice set like the one I use (available on TpT) can be a great tool.


    This product can be found on my Teachers Pay Teachers Store here:
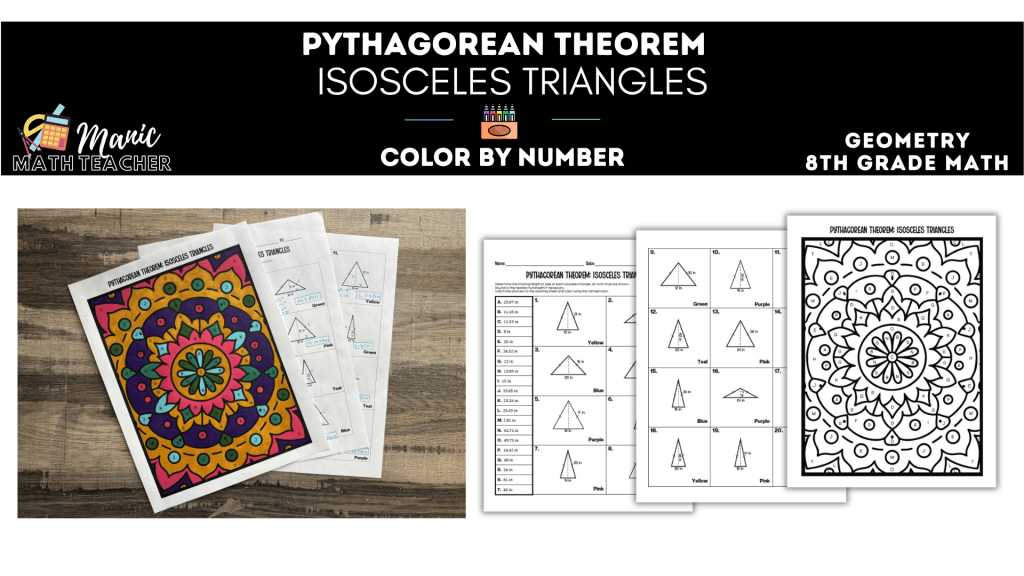

  • Isosceles triangles are a great context for helping students see right triangles “hiding” inside other shapes. When we drop a height from the vertex to the base, students suddenly have two congruent right triangles to work with—and that’s exactly where the Pythagorean Theorem comes back into play.

    Cognitive science tells us that students are more likely to transfer skills when they see those skills in different but related contexts. Using isosceles triangles to revisit Pythagorean relationships helps students realize that the theorem isn’t just about one specific triangle picture—it’s about any situation where a right angle and three connected sides appear.

    Practice tasks where students are given the base and height, or the base and slant height, and asked to find the missing measure push them to:

    • Visualize how the height splits the base.
    • Use right‑triangle reasoning inside a larger shape.
    • Keep track of which segment lengths belong to which part of the triangle.

    To keep things manageable, I like to turn these into a color by number activity. Each problem focuses on one isosceles triangle diagram, and students have to decide which measure to find and how to apply the theorem correctly before they can move on.

    If you’re preparing students for more advanced geometry, regular exposure to isosceles triangles in this way can pay off later. You can find my isosceles‑focused color by number practice on TpT if you’d like a ready‑made set.


    This product can be found on my Teachers Pay Teachers Store here:
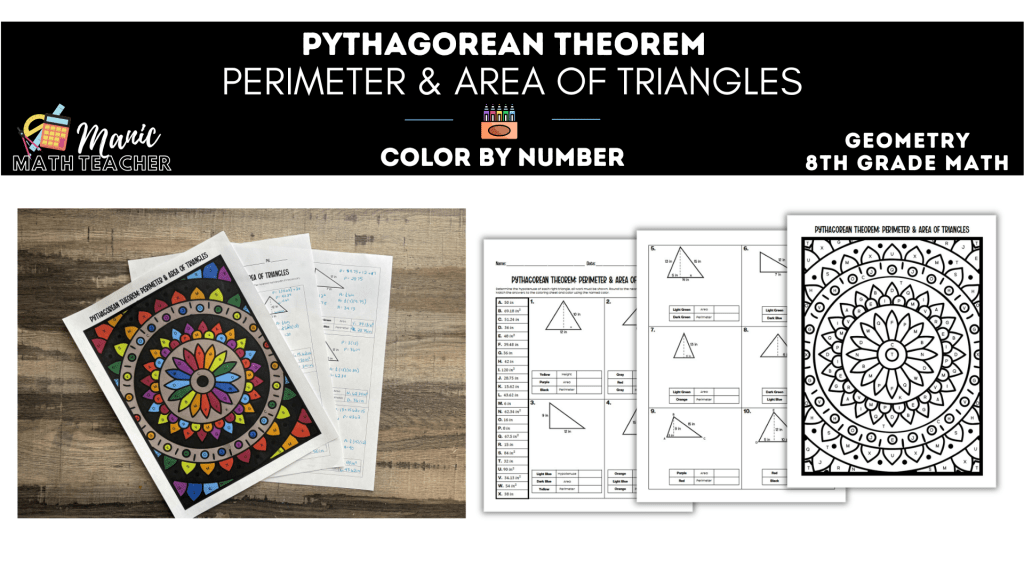

  • Triangle work in middle school often feels fragmented: one day it’s side lengths, another day it’s area, then perimeter shows up somewhere else. But research on coherence in math curricula suggests that students benefit when we help them see these ideas as connected pieces of a bigger picture.

    Right, isosceles, and scalene triangles give us a natural way to tie together side lengths, area, and perimeter. When students use the Pythagorean Theorem to find a missing side and then immediately use that side in area and perimeter calculations, they’re practicing both geometry and number sense within the same problem.

    This kind of task does a few things at once:

    • Reinforces the structure of right triangles hidden inside other triangle types.
    • Encourages students to track measurements across multiple steps.
    • Builds fluency with formula use without feeling like separate, disconnected exercises.

    In my classroom, I like to use a set of multi‑step problems where students first find missing sides and then calculate the triangle’s area or perimeter. A color by number format works especially well here, because students need to keep track of each answer and see how they all fit together to complete the design.

    If you’re looking for an activity that ties together Pythagorean Theorem, area, and perimeter in one place, my triangle‑based color by number resource on TpT can serve as a ready‑to‑go practice or assessment.


    This product can be found on my Teachers Pay Teachers Store here:
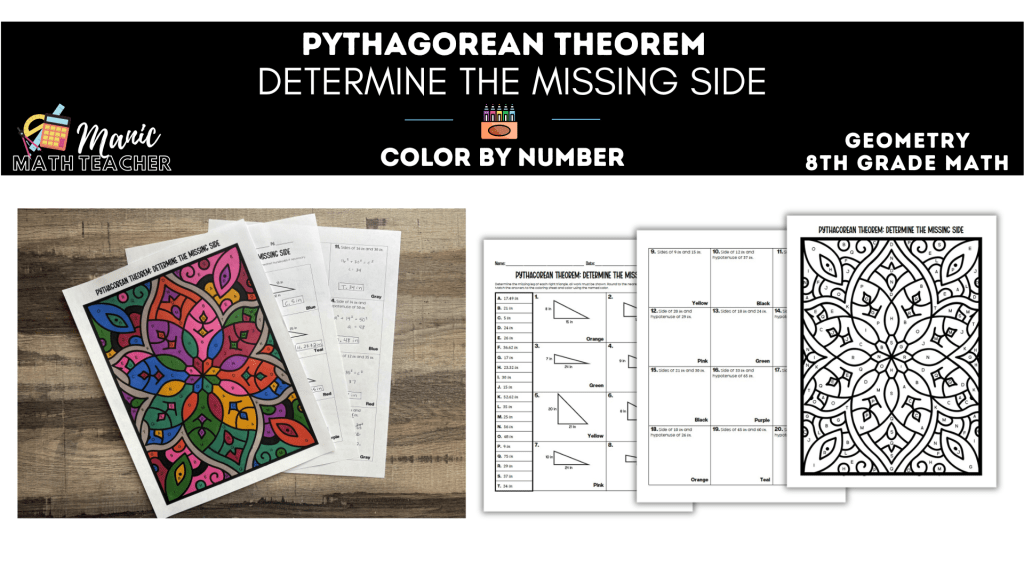

  • Many students can handle Pythagorean problems when everything looks exactly like the example in their notes. The trouble comes when they see different combinations of known and unknown sides. That flexibility—recognizing which side is missing and how to set up the equation—is what actually prepares them for high‑stakes assessments and real‑world problems.

    Research on transfer in mathematics emphasizes varied practice: giving students multiple forms of the same underlying structure. When we intentionally mix problems where sometimes the hypotenuse is missing and sometimes a leg is missing, students are forced to slow down, identify the longest side, and think about the relationship rather than blindly applying a pattern.

    To support that, I like to give a set of problems where students are told: “Sometimes you’re finding the hypotenuse. Sometimes you’re finding a leg. Your job is to decide which one each time.” This encourages them to label sides, compare lengths, and choose the correct operation.

    A color by number activity is a simple way to structure this. Each problem leads to a different answer in the bank, and the completed design only appears if they’ve been careful with which side they’re solving for. That extra layer of accountability can be powerful.

    If your students mix up when to add and when to subtract in Pythagorean problems, a mixed missing‑sides practice set like the one I use—and offer on TpT—can be a helpful bridge.


    This product can be found on my Teachers Pay Teachers Store here: